
So, you’ve been shooting black-and-white film and loving it—but maybe you’re wondering if it’s possible to develop it yourself. You’ve probably seen people talk about their “home labs,” and you might think, I don’t have the space… I don’t have the gear… I wouldn’t know where to start.
This guide is for you.
Whether you’re living in a small apartment or just hesitant about pouring chemicals in your kitchen sink, this beginner-friendly walkthrough will show you that developing film at home is possible. You don’t need a full darkroom. You don’t need to be a chemistry expert. You just need a small, well-organized space, a few reliable tools, and the curiosity to give it a try.
Why Develop Film at Home?
Before we get into the gear, let’s talk about why this practice matters.
Developing film at home isn’t just a convenient alternative to lab drop-offs. It’s a way to reconnect with the process of photography. It gives you full control over your results, lets you experiment with different developers and processes, and—if done mindfully—can be more sustainable, both financially and environmentally.
By developing your film yourself:
- You cut down on packaging waste and transportation emissions.
- You can use only what you need, reducing chemical overuse.
- You can take responsibility for the safe and proper disposal of materials, ensuring that your practice leaves a lighter footprint.
At Develop & Dispose, we believe that the joy of film photography and the ethics of sustainability can go hand in hand. Home development is a powerful step in that direction.
What Does a Simple Setup Look Like?
Here’s the good news: you don’t need a dedicated darkroom or a laundry list of gadgets. You can build a reliable, low-footprint setup that fits in a bathroom, kitchen, or even your closet. You can dry film in the shower. You can mix chemicals in measuring cups. Many of us do.
Here’s a basic overview of what you’ll need to get started:
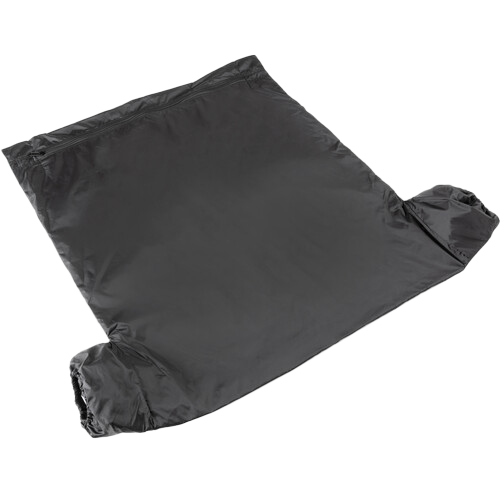
1. Changing Bag or Dark Space
To transfer your film from the canister into the development tank, you need complete darkness. A changing bag is the easiest solution—it’s portable, inexpensive, and easy to use.
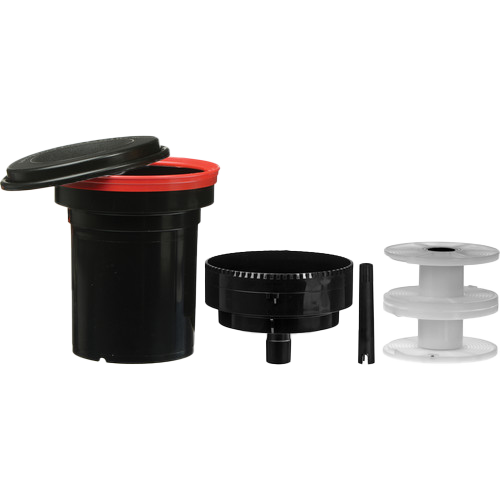
2. Development Tank & Reels
The core of your setup. These allow you to develop film in daylight once the film is loaded inside. I use a Paterson tank with plastic reels, which are beginner-friendly and easy to clean.
3. Measuring Tools & Storage Bottles
You’ll need graduated cylinders or measuring cups to mix and dilute your chemicals, plus storage bottles (preferably labeled and opaque) to hold your working solutions. Don’t forget a funnel!
4. Thermometer & Timer
Temperature matters when developing film. A simple thermometer and your phone’s stopwatch app will do the job.
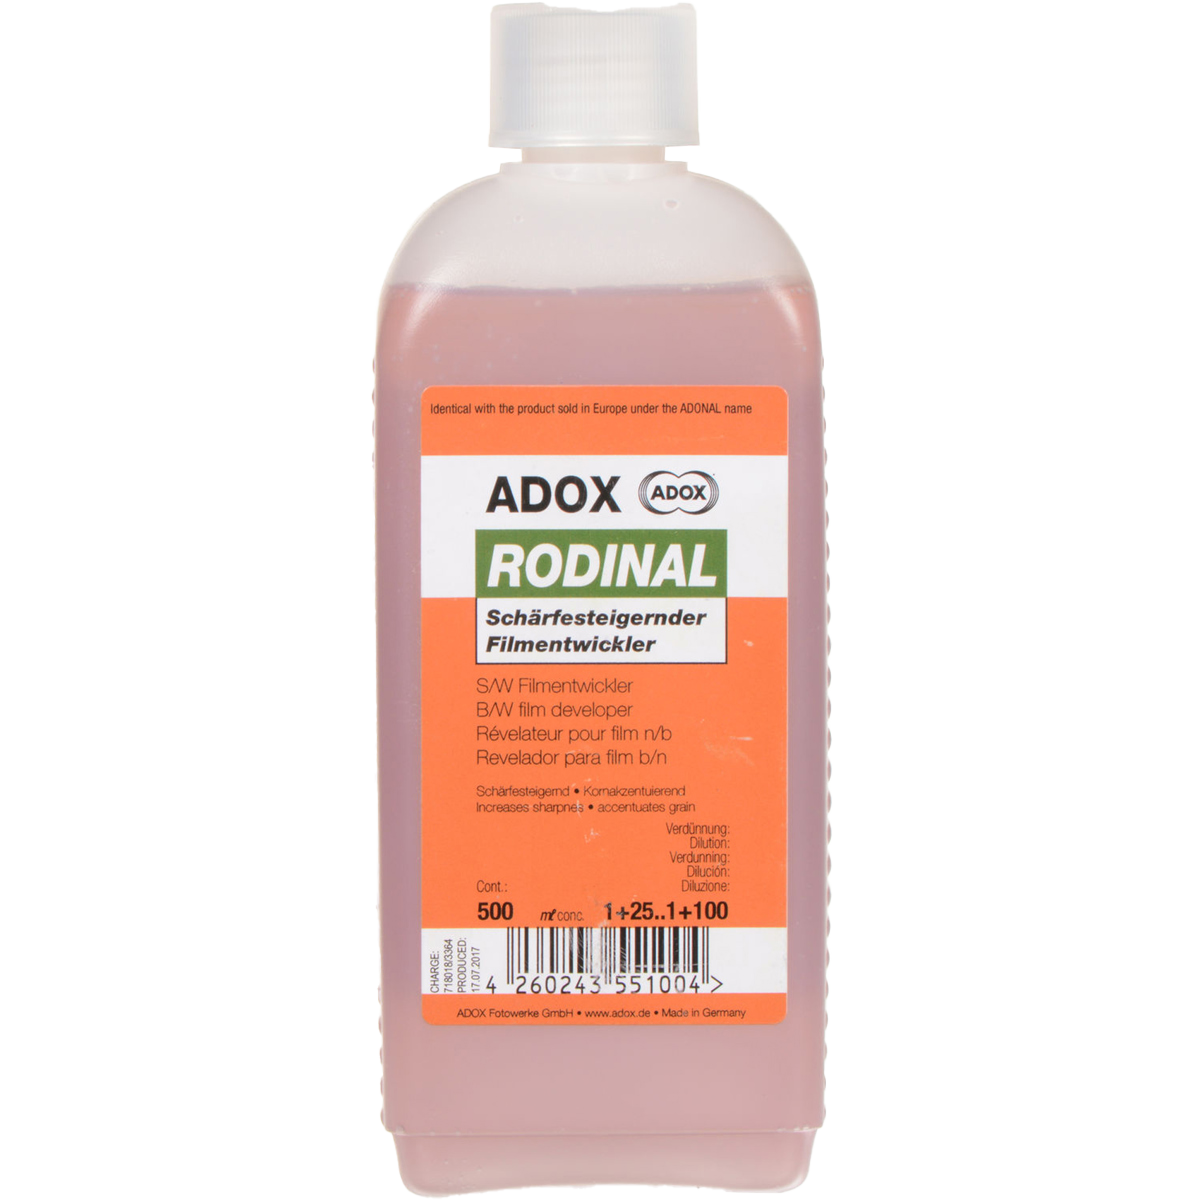
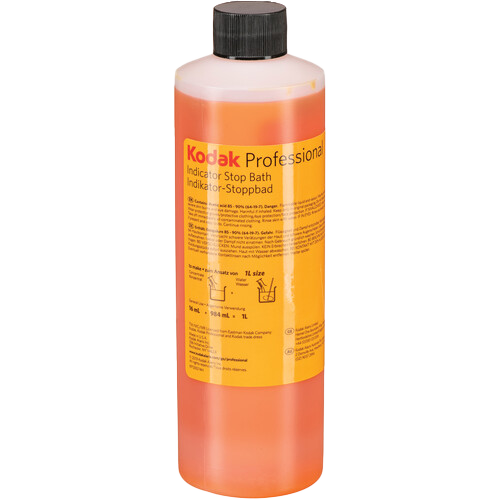
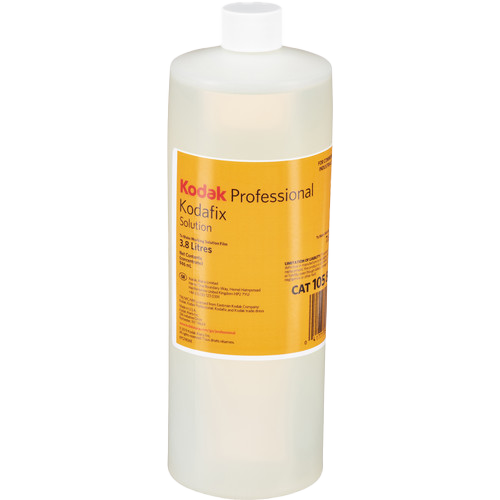
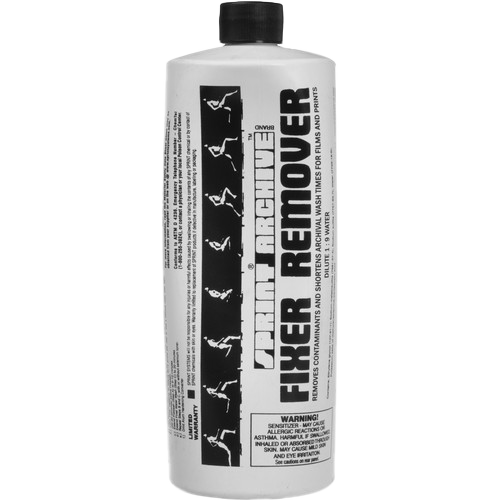
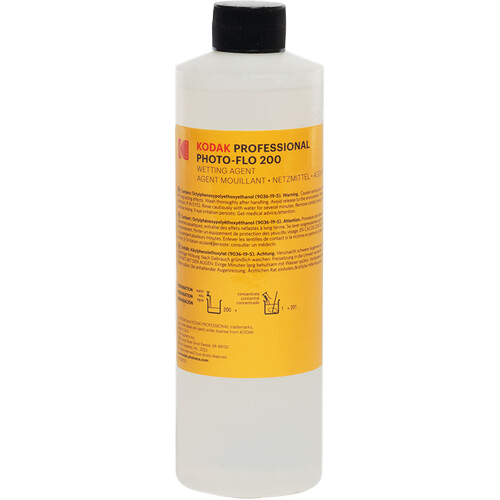
5. Chemicals
At a minimum, to develop black-and-white film, you’ll need: developer, stop bath, fixer, fixer remover, and photo-flo.
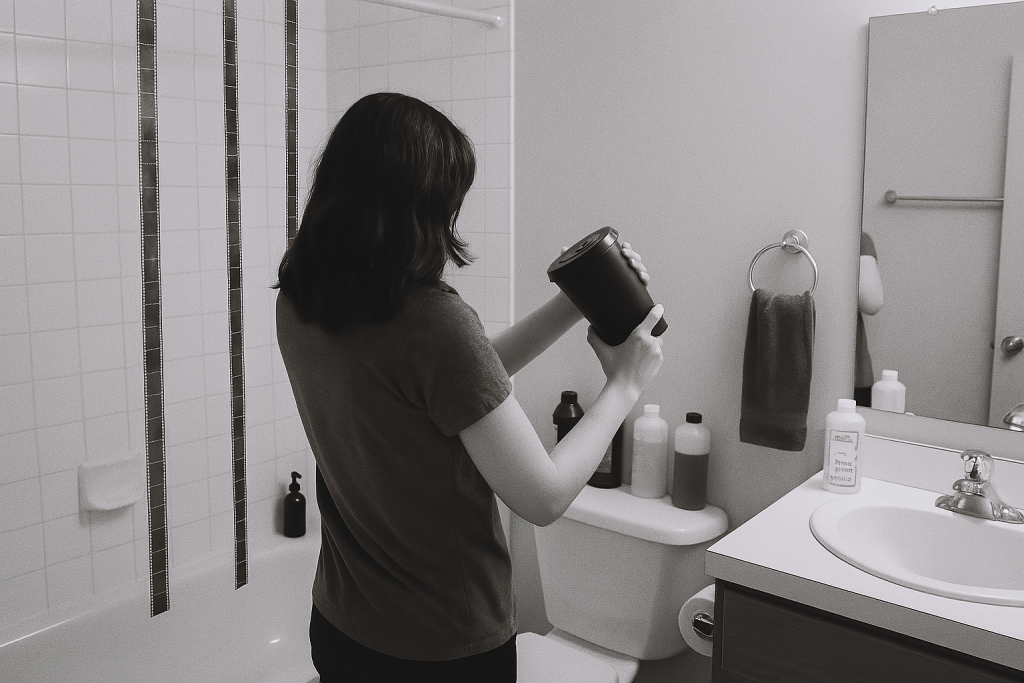
6. Film Clips & a Drying Space
You’ll need a dust-free place to hang your negatives. A bathroom with a closed door and a shower rod works great.
The Process (At a Glance)
You’ll learn the process in detail as you go, but here’s the basic flow:
- Load your film into the tank (in darkness)
- Develop – usually 6–10 minutes, depending on film/dev combo
- Stop – a quick rinse or acid bath to halt development
- Fix – usually 5 minutes to make the image permanent
- Wash – rinse thoroughly to remove all chemicals
- Dry – hang in a clean, dust-free space
What If I Mess Up?
You will. We all do. And that’s okay.
You might fail to load the negatives at the beginning (which is really discouraging, in my opinion!), overdevelop a roll, forget to invert the tank once, or scratch some negatives. Don’t let perfectionism get in the way of the experience. Each roll teaches you something new.
Developing your own film can feel intimidating, but it doesn’t have to be. It’s not about having the perfect setup—it’s about starting where you are, with what you have, and learning by doing. And the first time you hold up a strip of negatives you developed yourself, something changes. You feel closer to your work. You understand photography differently.